Tutorial: Using F# with Unity3D 2018.3
Today’s tutorial gives step-by-step instructions on how to use F# as a programming language in Unity. It updates an older tutorial from 2015 that used Unity 5.2 because a lot has changed in Unity since then. With an improved IL2CPP and support for .NET Standard 2.0, it’s easier than ever to simply drop in F# support. Read on to learn how!
The following steps walk you through setting up a Unity project with both C# and F# code. The C# code will be able to call F# code and visa versa. The F# code will also be able to use Unity APIs. Command line steps are used to set up the project, but aren’t necessary afterward. The resulting build is for macOS using IL2CPP, but other environments will work just as well.
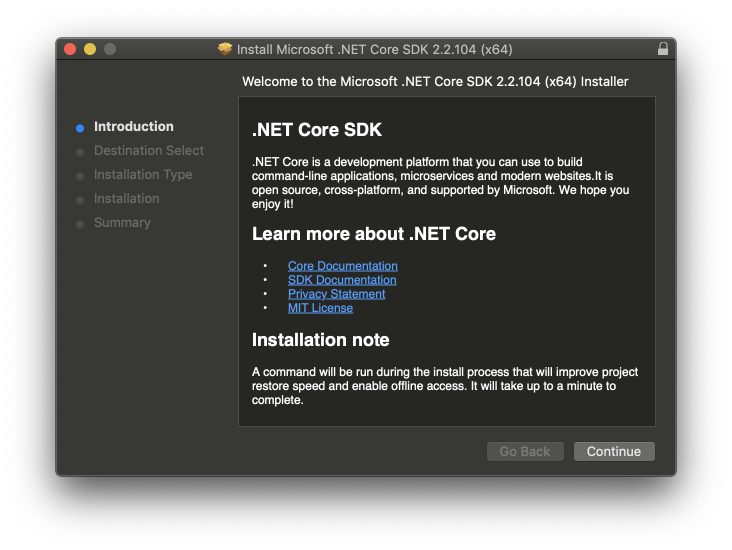
- Install the .NET Core SDK
- Create a Unity project. I’ll use
temp/UnityProjectin my home directory.

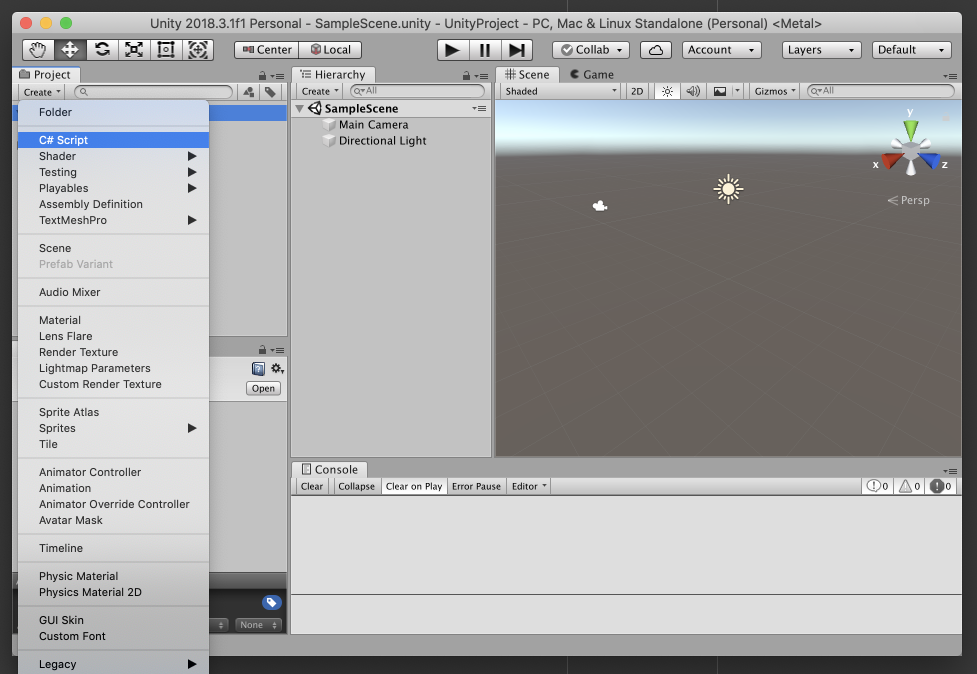
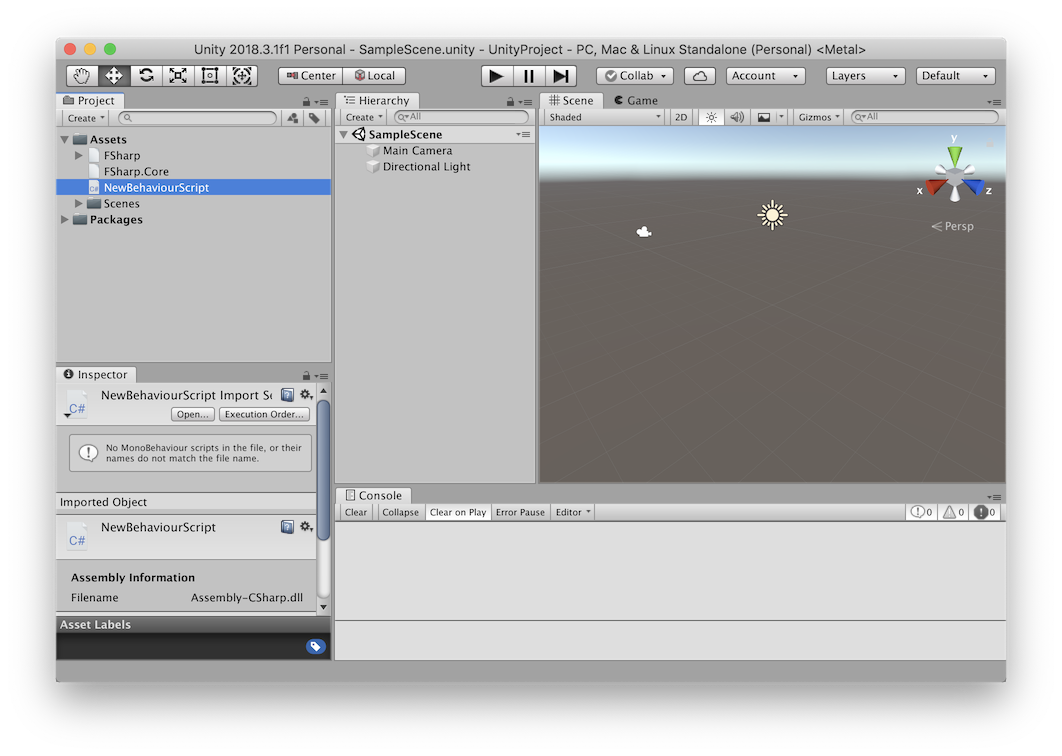
- In the
Projectpane, clickCreatethenC# Scriptand press the return key
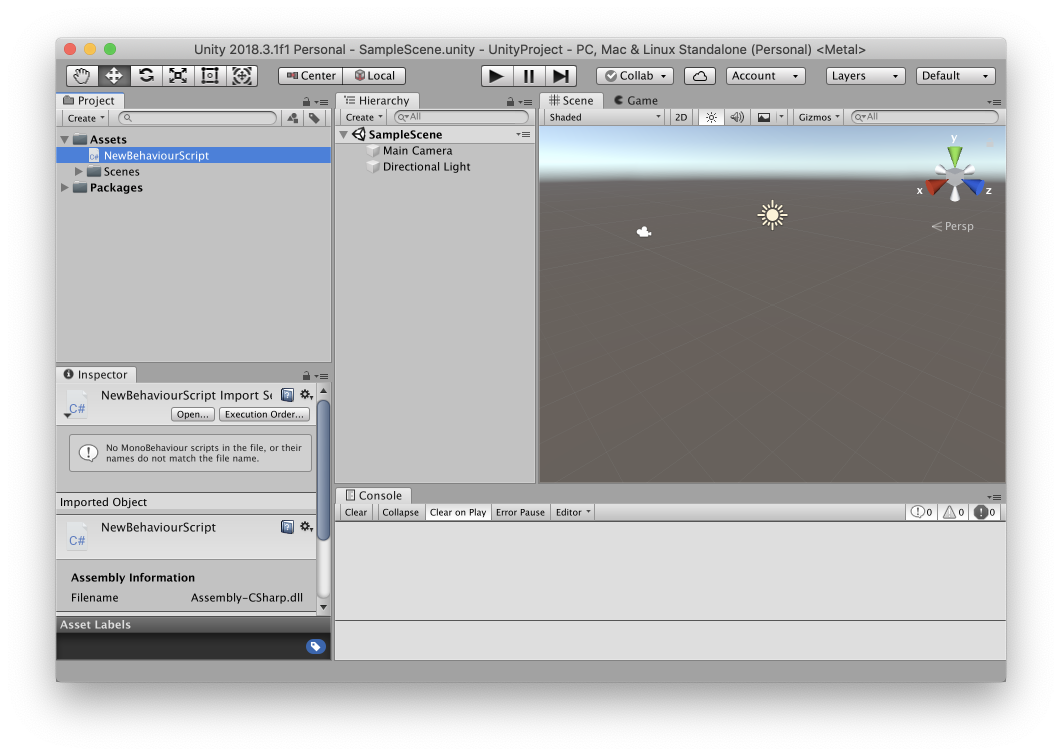
- Double-click
NewBehaviourScriptto open it in Visual Studio

- Replace the code with this, save the file, focus the Unity editor window, and wait for the spinner to indicate that C# has been built
public static class CSharpMath
{
    public static int Add(int a, int b)
    {
        return a + b;
    }
}
- Open the Terminal app from
/Applications/Utilities/Terminal
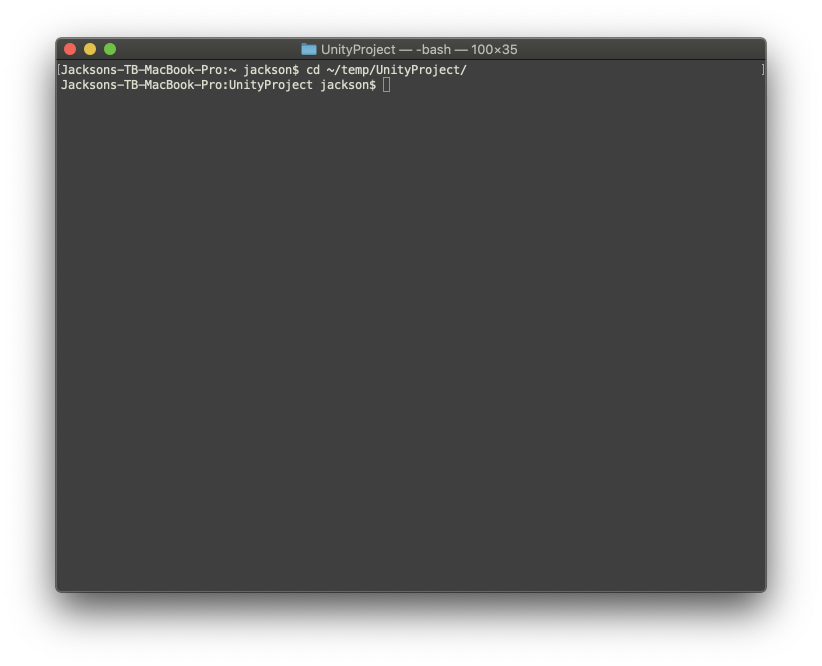
- Enter
cd ~/temp/UnityProjectto go to the Unity project directory
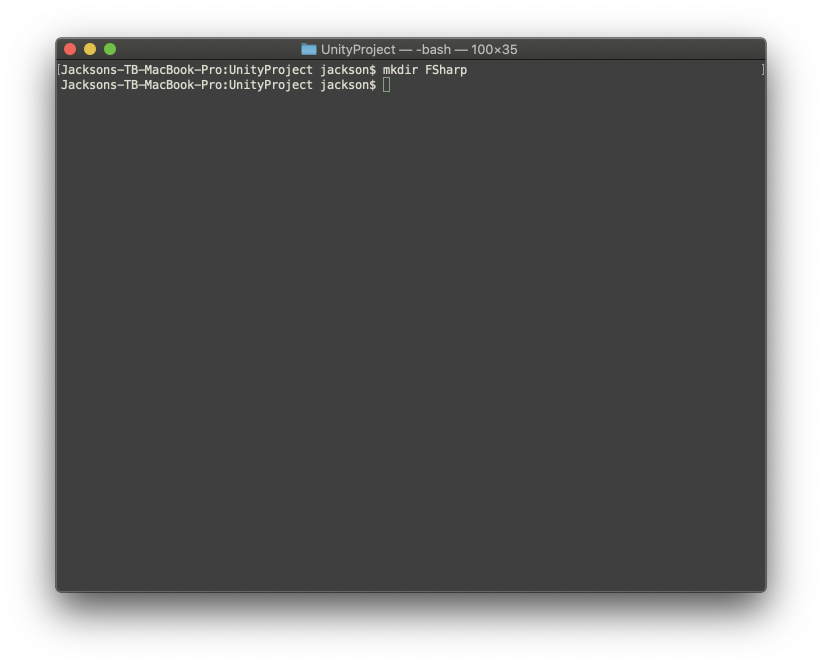
- Enter
mkdir FSharpto create a directory for your F# project.
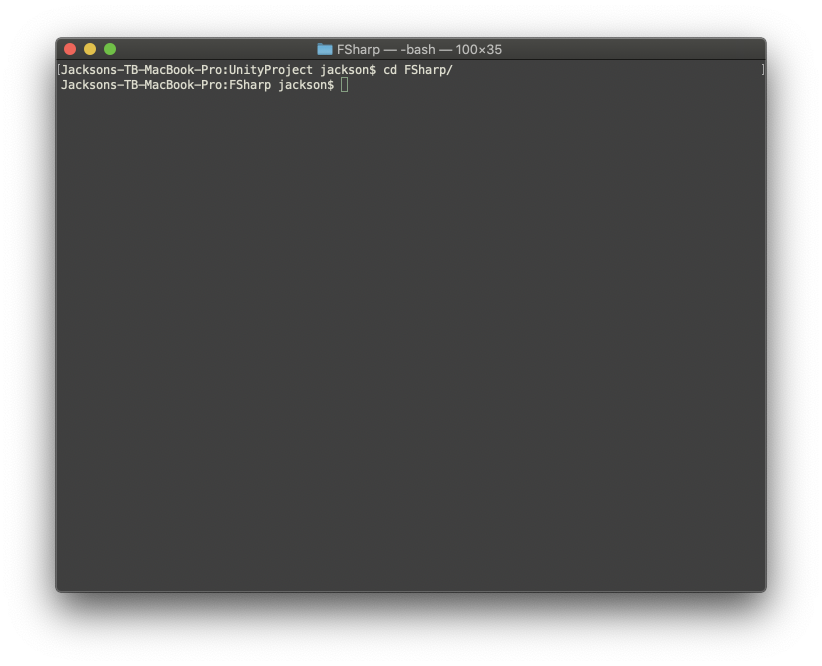
- Enter
cd FSharpto go to your F# project
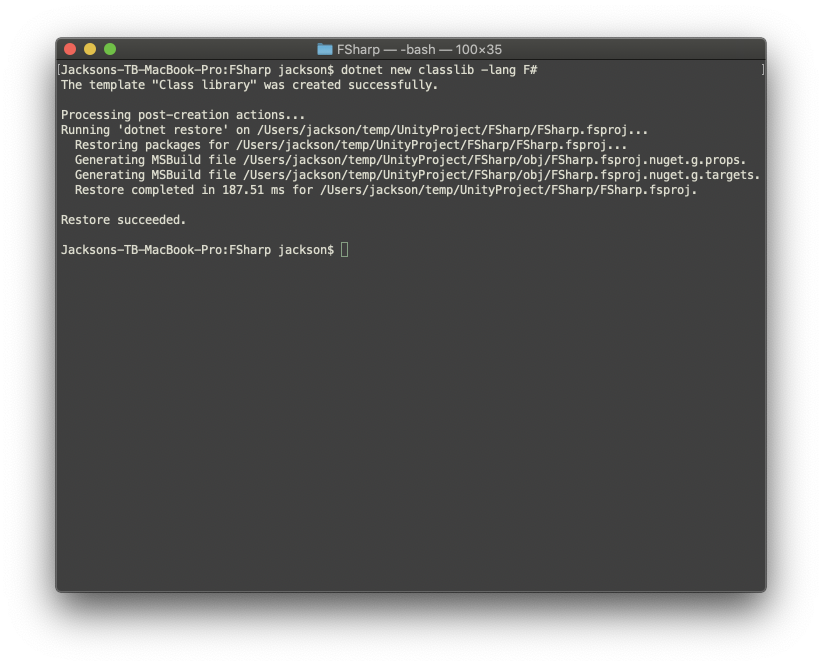
- Enter
dotnet new classlib -lang F#to initialize the F# project for building a DLL
- Enter
dotnet publishto build the F# project
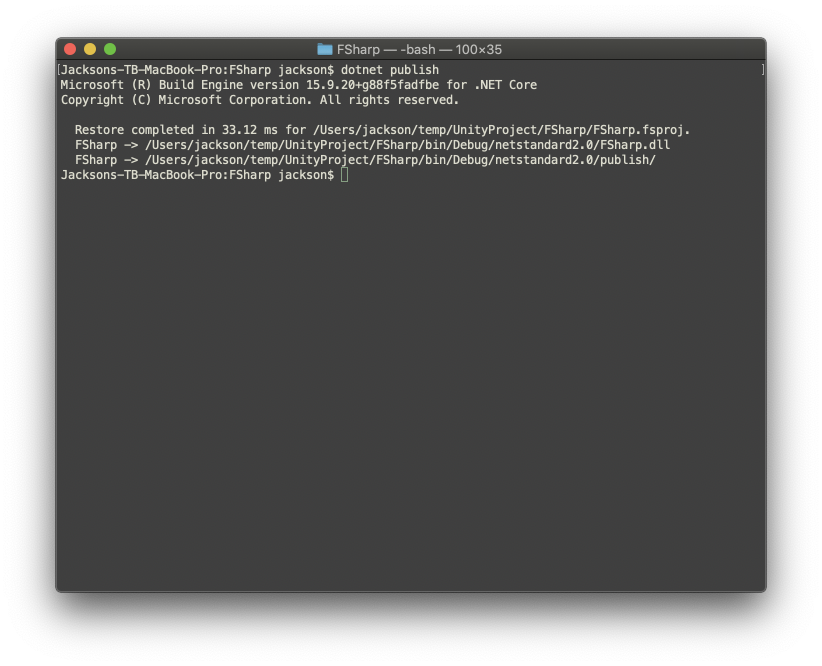
- Enter
cp bin/Debug/netstandard2.0/publish/FSharp.Core.dll ../Assets/to copy the F# language DLL to the Unity project
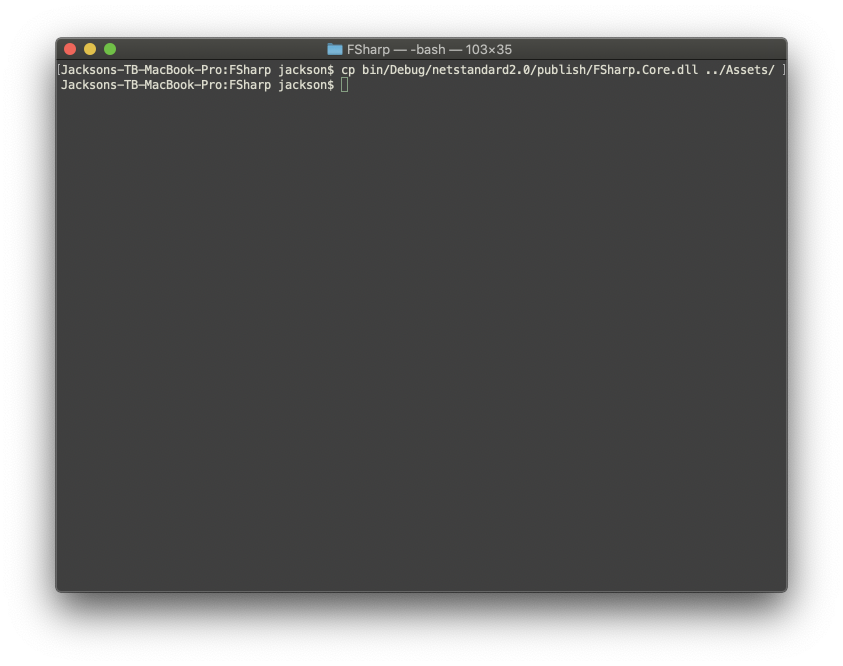
- Enter
open FSharp.fsprojto open the F# project in Visual Studio
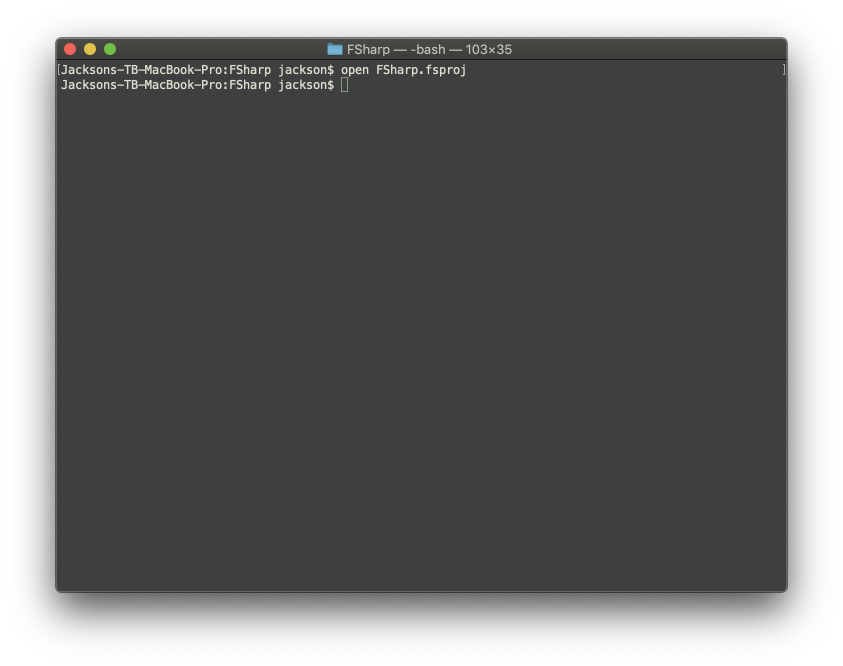
- In the
Solutionpane, right-click onFSharp > FSharp > Dependenciesand clickEdit References...
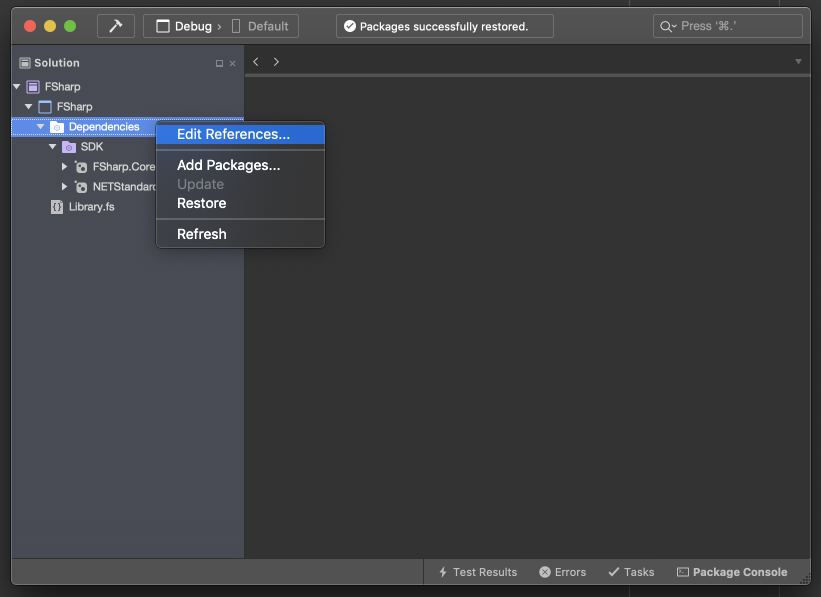
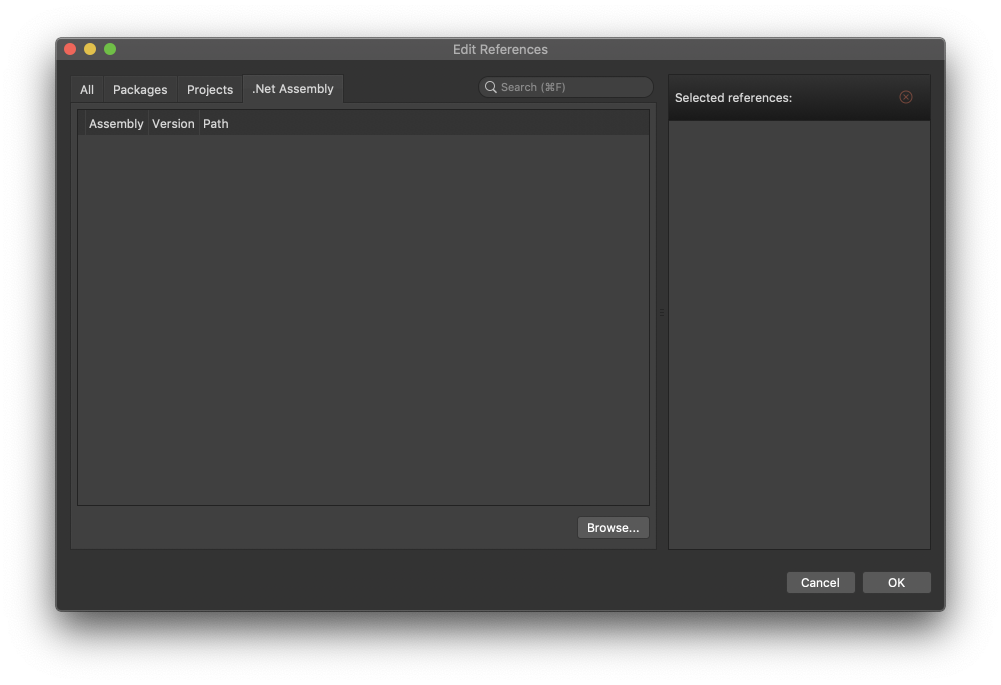
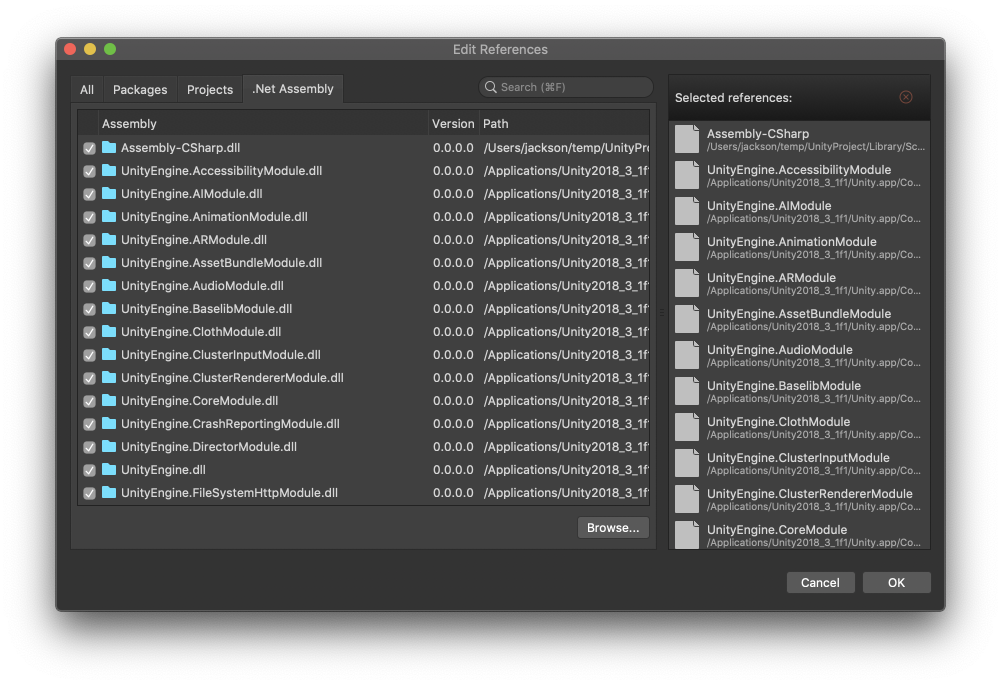
- Click the
.NET Assemblytab and then click theBrowse...button
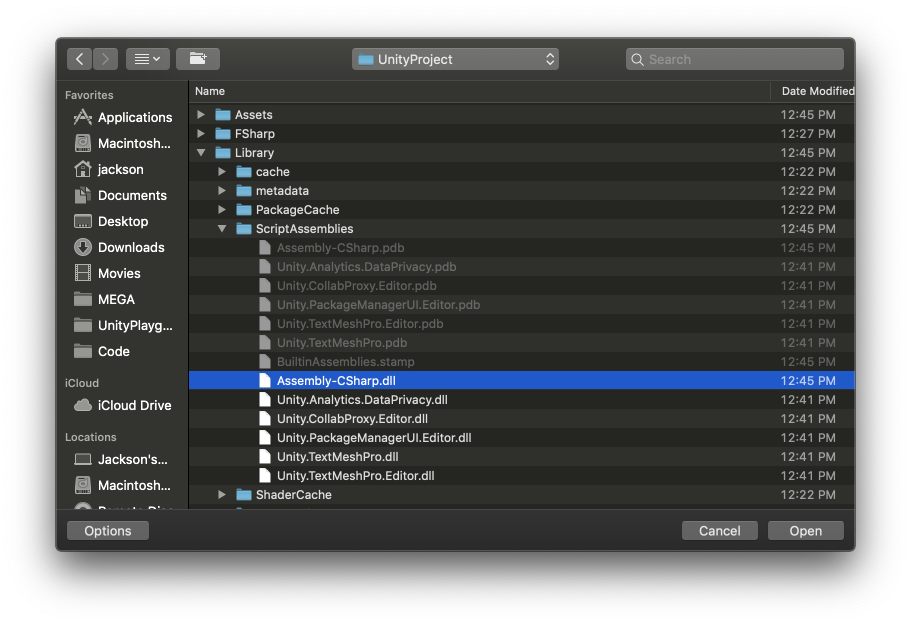
- Navigate up to the
UnityProjectdirectory, chooseLibrary/ScriptAssemblies/Assembly-CSharp.dll, and clickOpen
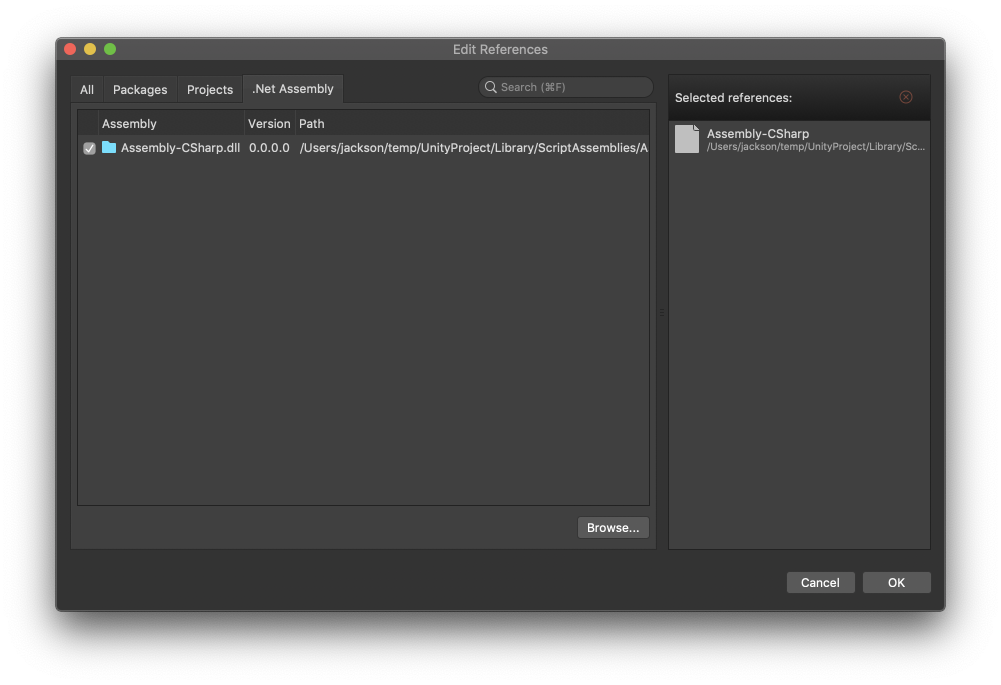
- Click the
Browse...button again. PressCmd+Shift+G, enter the path to your Unity install directory, and clickGo

- Navigate into
Contents/Managed/UnityEngine
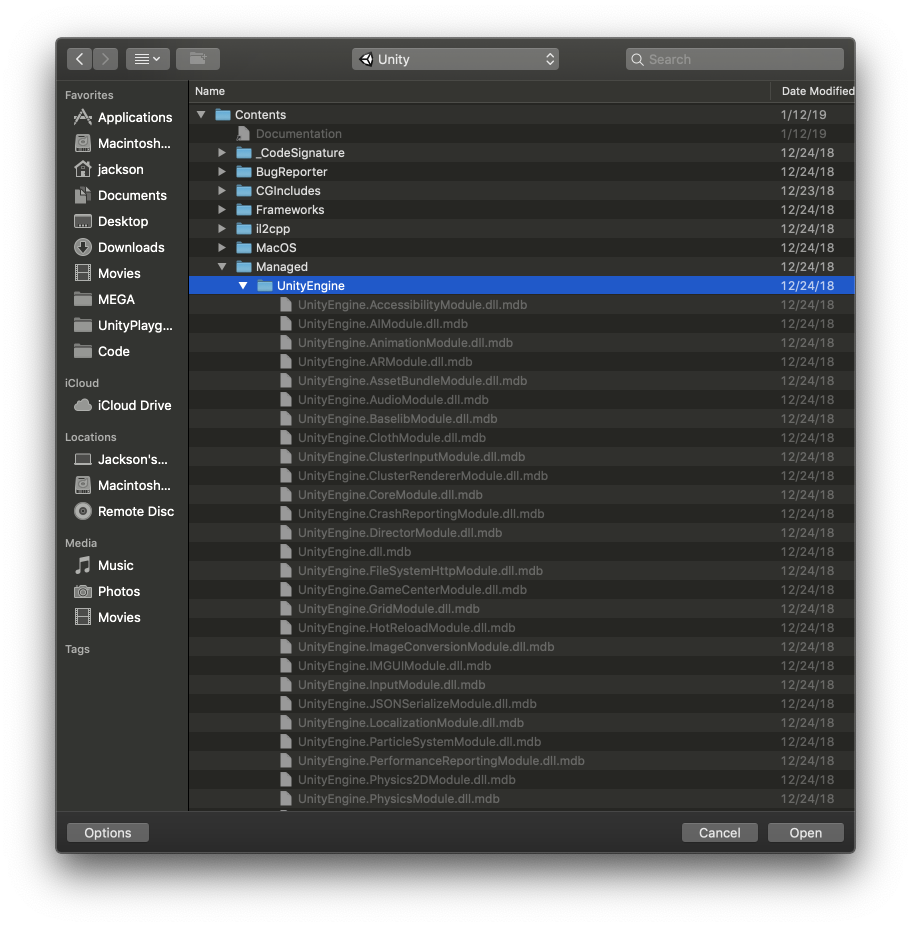
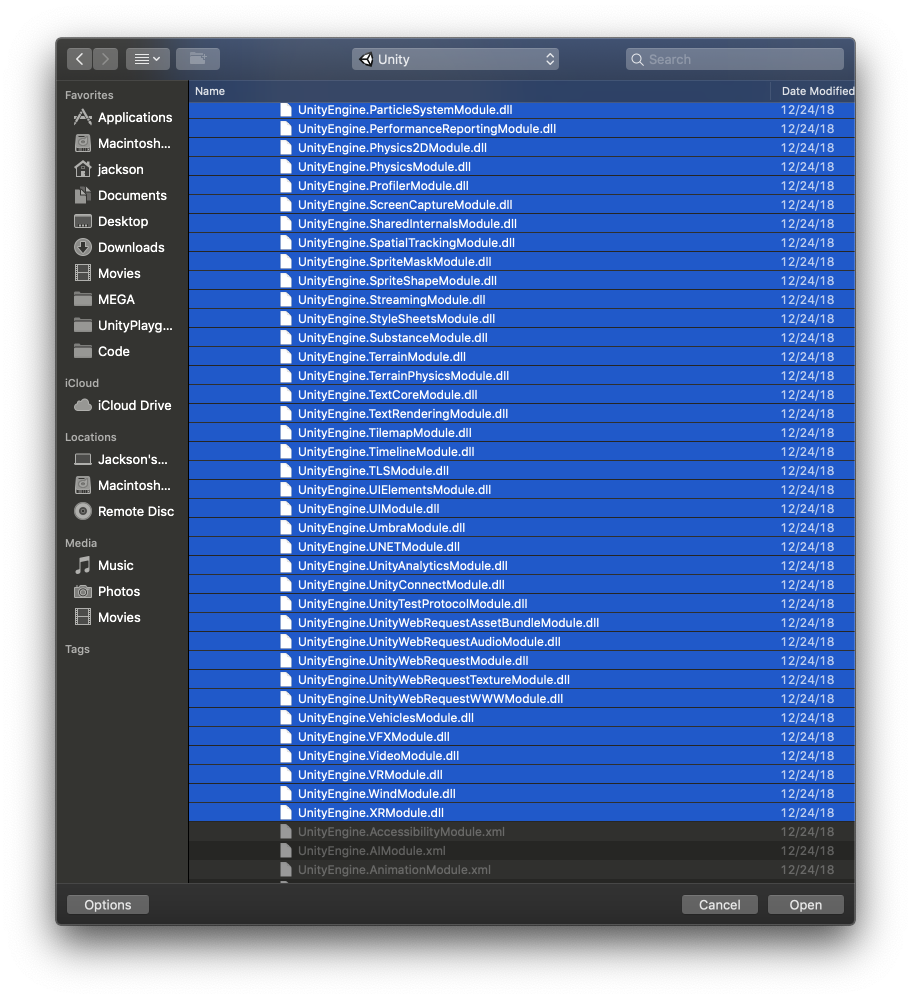
- Select all the files ending in
.dlland clickOpen. It helps to sort theKindcolumn.
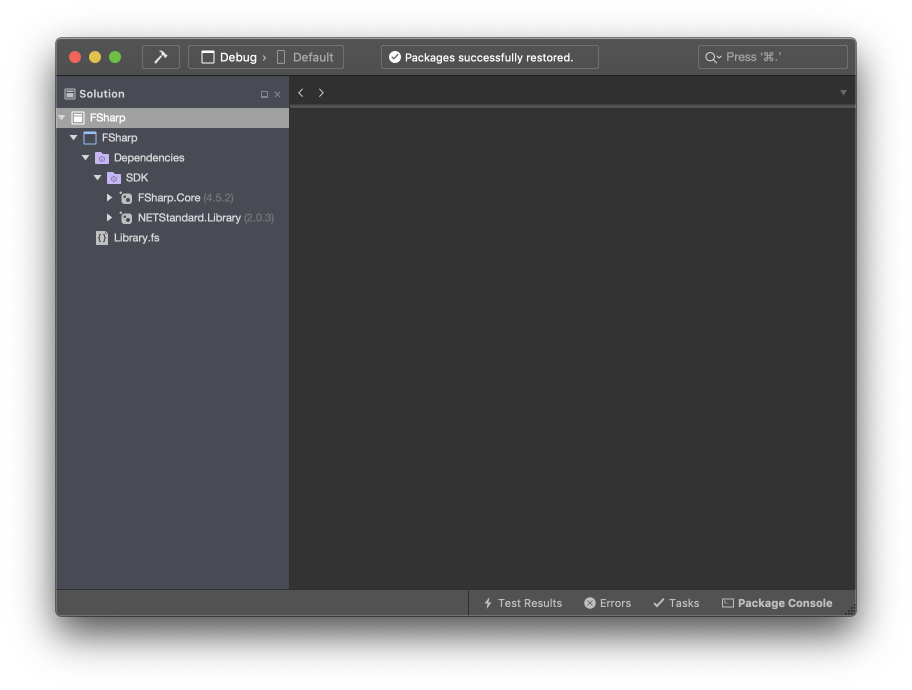
- Click the
OKbutton and wait for it to “restore” all the “packages”.

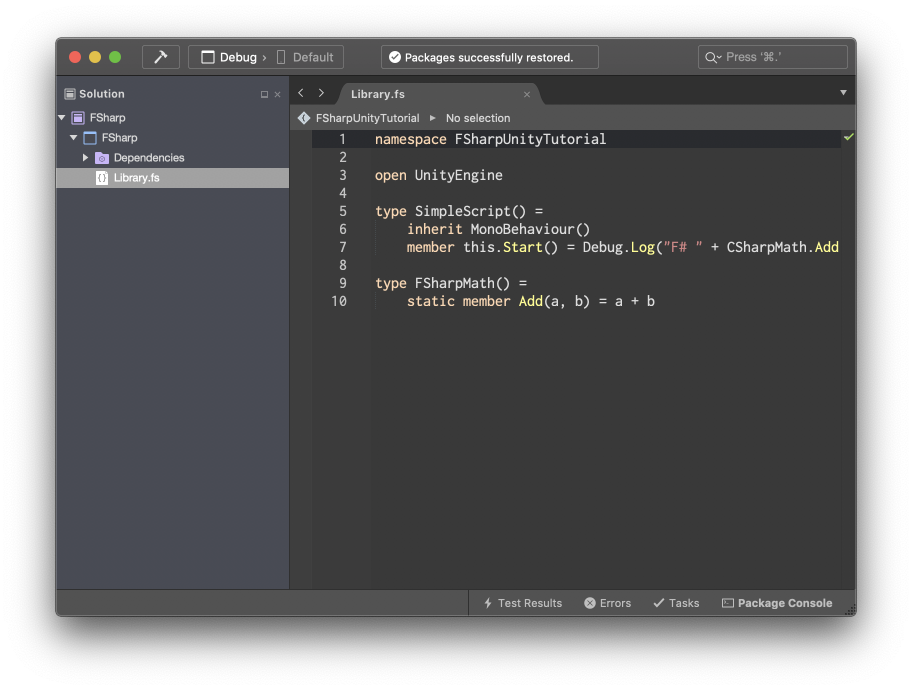
- Double-click
Library.fsto open its F# source
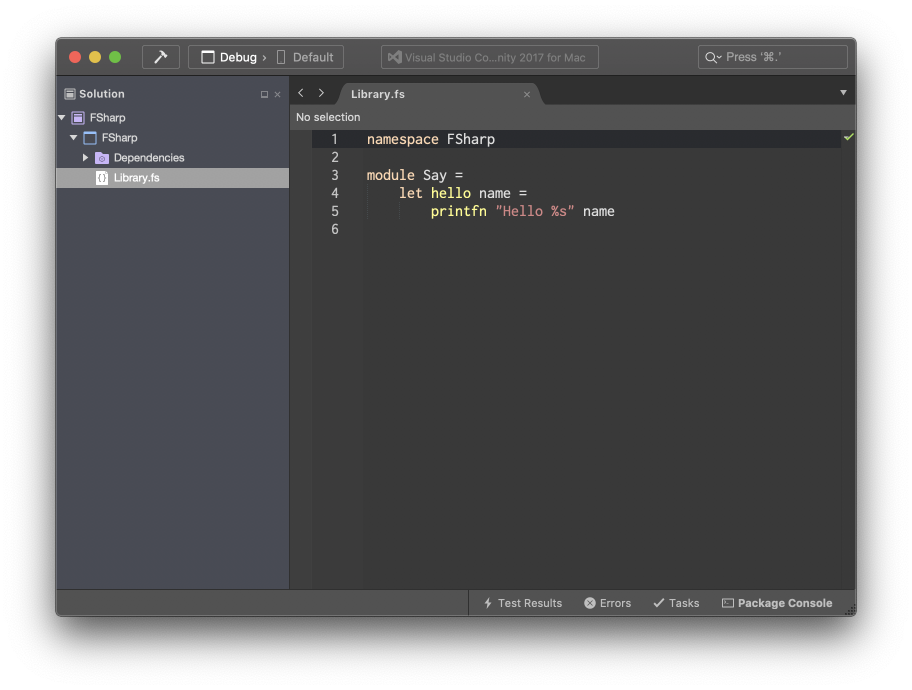
- Replace the code with this and save the file:
namespace FSharpUnityTutorial

open UnityEngine

type SimpleScript() =
    inherit MonoBehaviour()
    member this.Start() = Debug.Log("F# " + CSharpMath.Add(2, 5).ToString())

type FSharpMath() =
    static member this.Add(a, b) = a + b
- In the
Solutionpane, right-click onFSharp > FSharpand clickOptions

- Click
Custom Commandson the left side
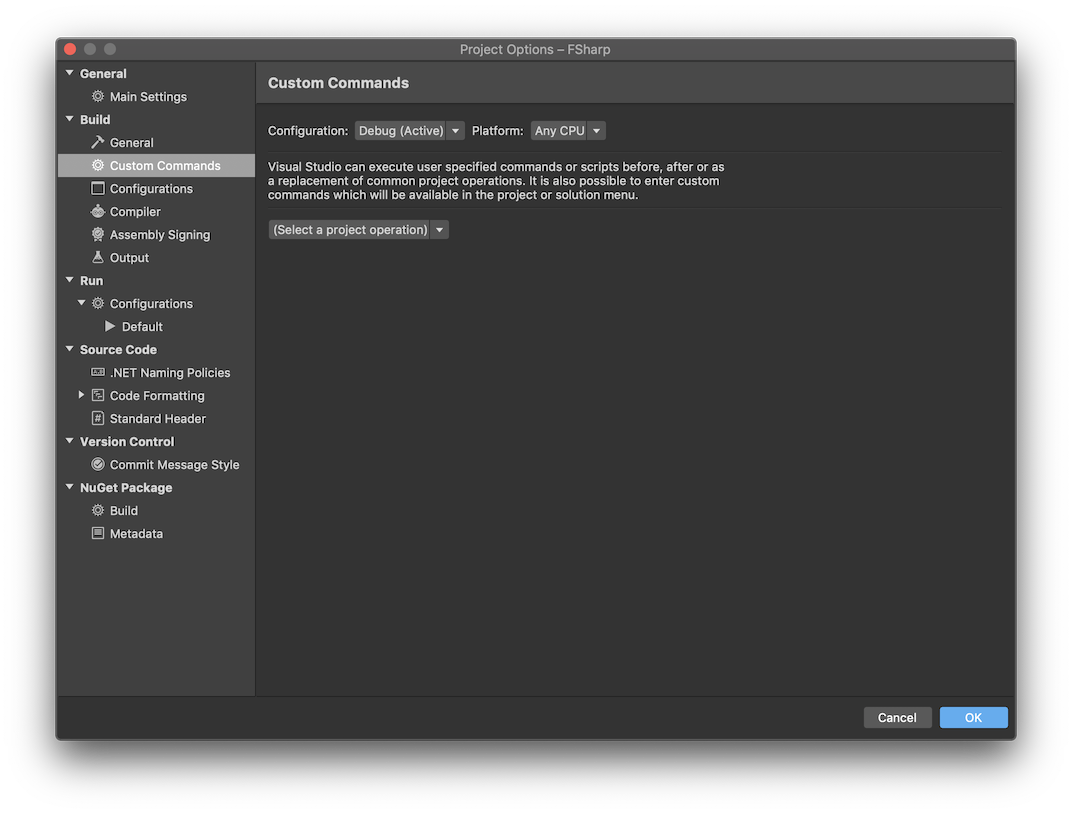
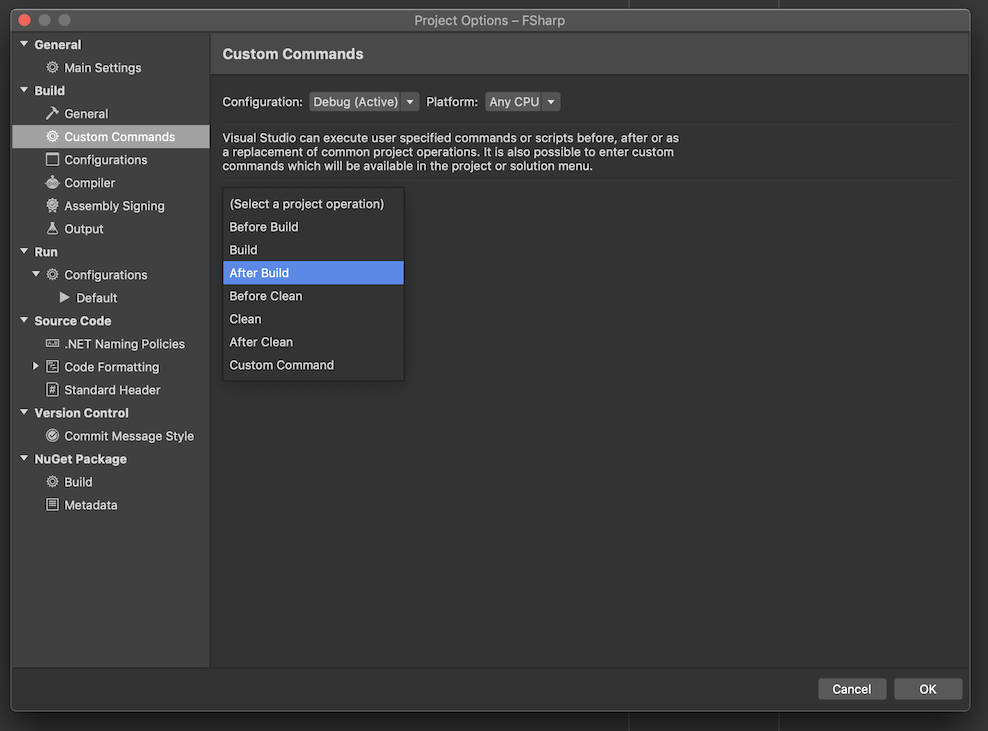
- Click
(Select a project operation)on the right side thenAfter Build
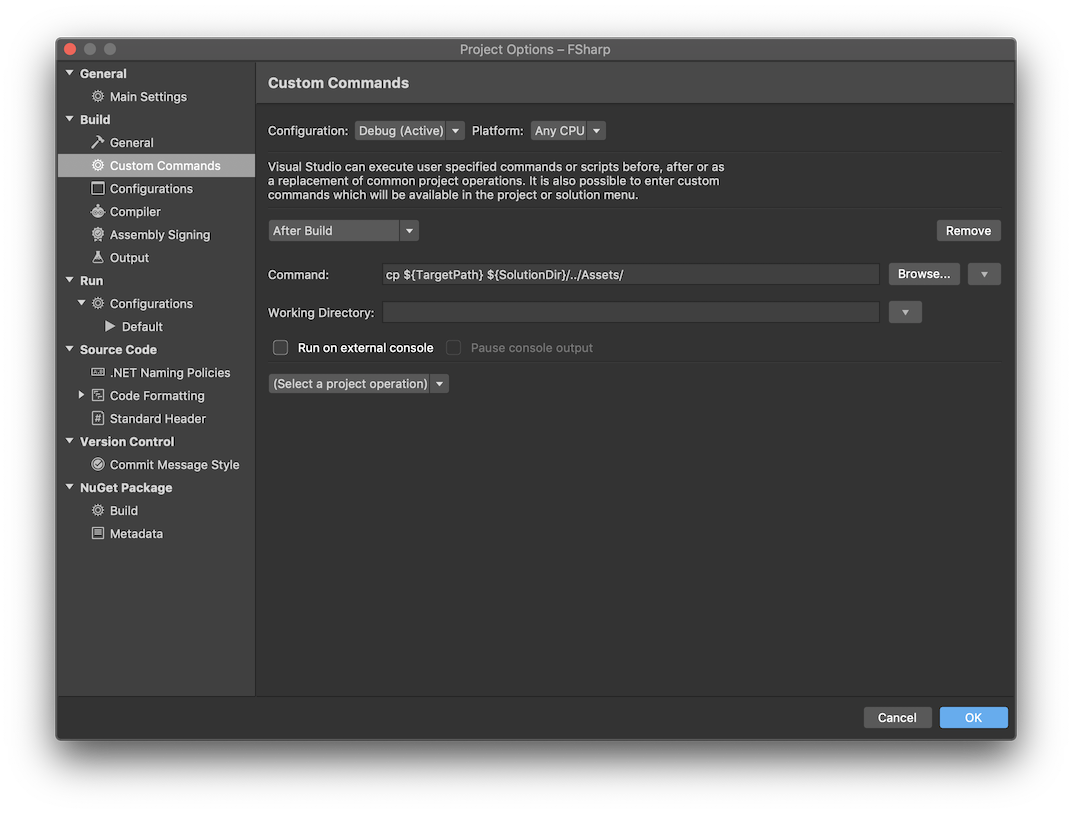
- Enter
cp ${TargetPath} ${SolutionDir}/../Assets/into theCommandfield and clickOK
- Press
Cmd+Bto build the F# project

- Open the Unity editor window and wait for the spinner to indicate that C# and F# have been built
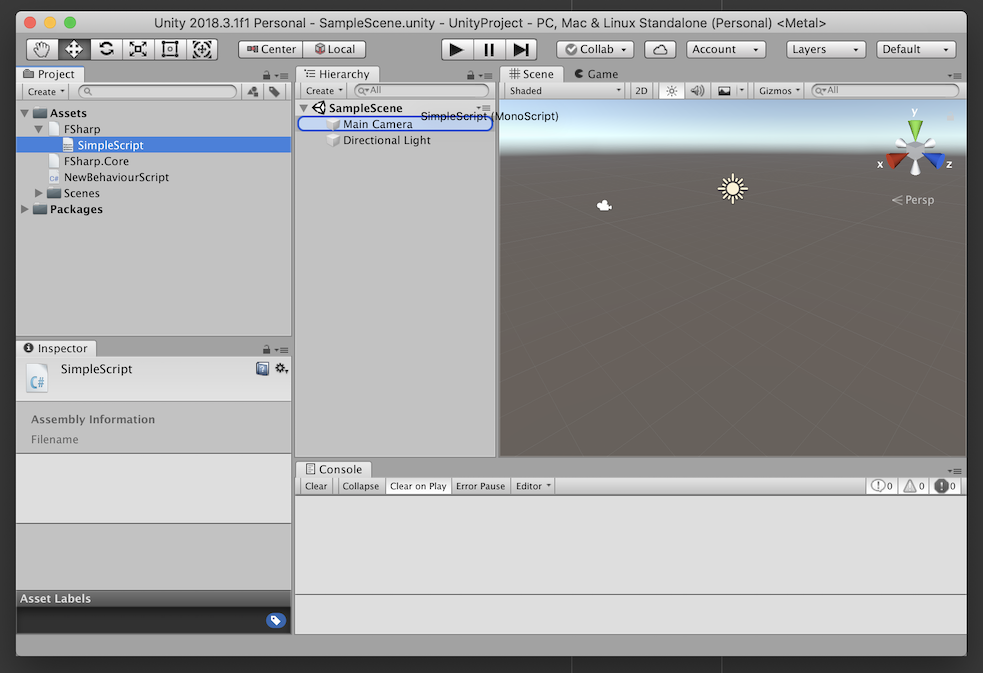
- In the
Projectpane, click on the arrow next toFSharpand dragSimpleScriptontoMain Camerain theHierarchypane. PressCmd+Sto save the Unity project.
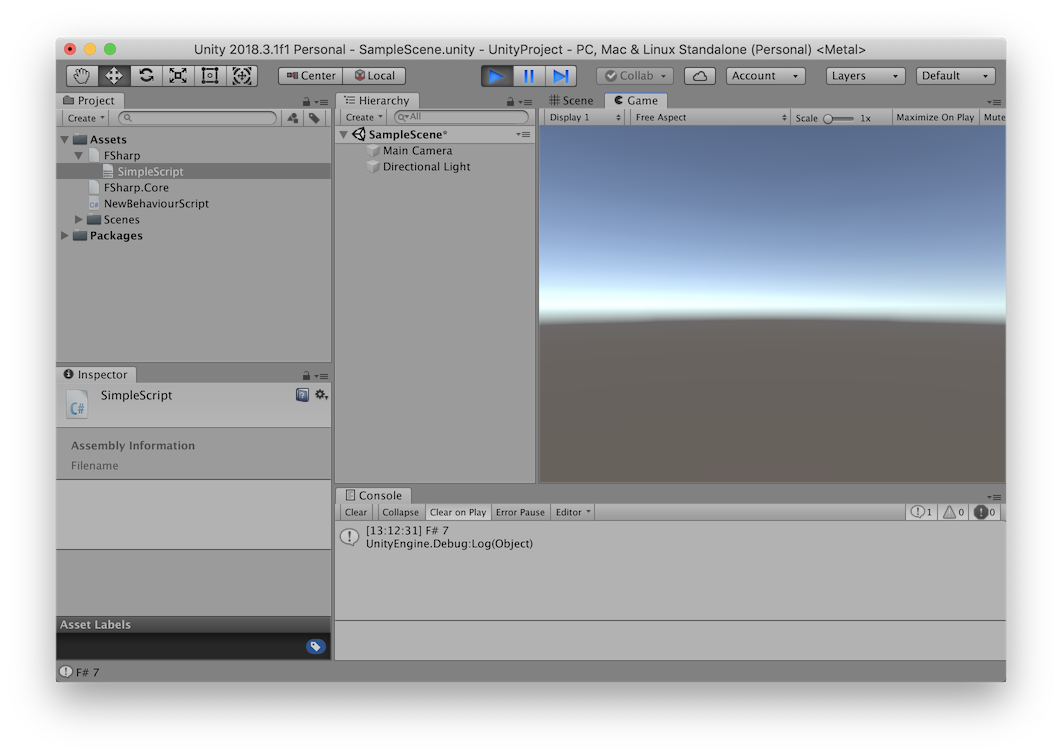
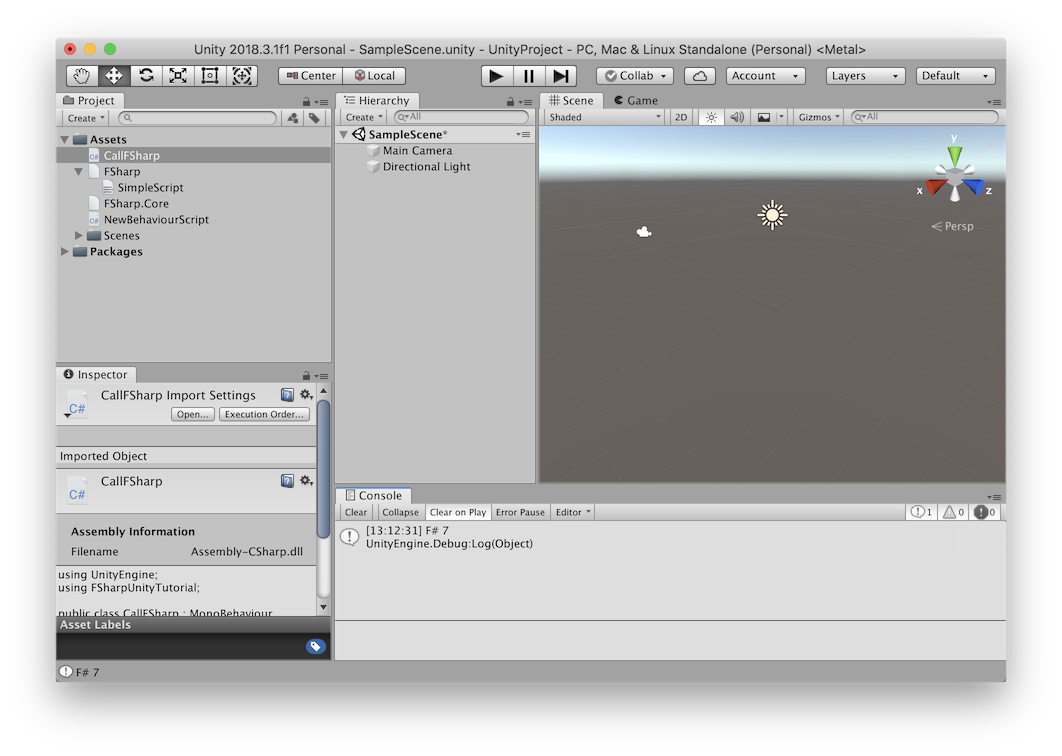
- Press the
Playbutton and observe theConsolepane. It should sayF# 7. This confirms that F# is running successfully.
- In the
Projectpane, clickCreatethenC# Script. TypeCallFSharpand press the return key.
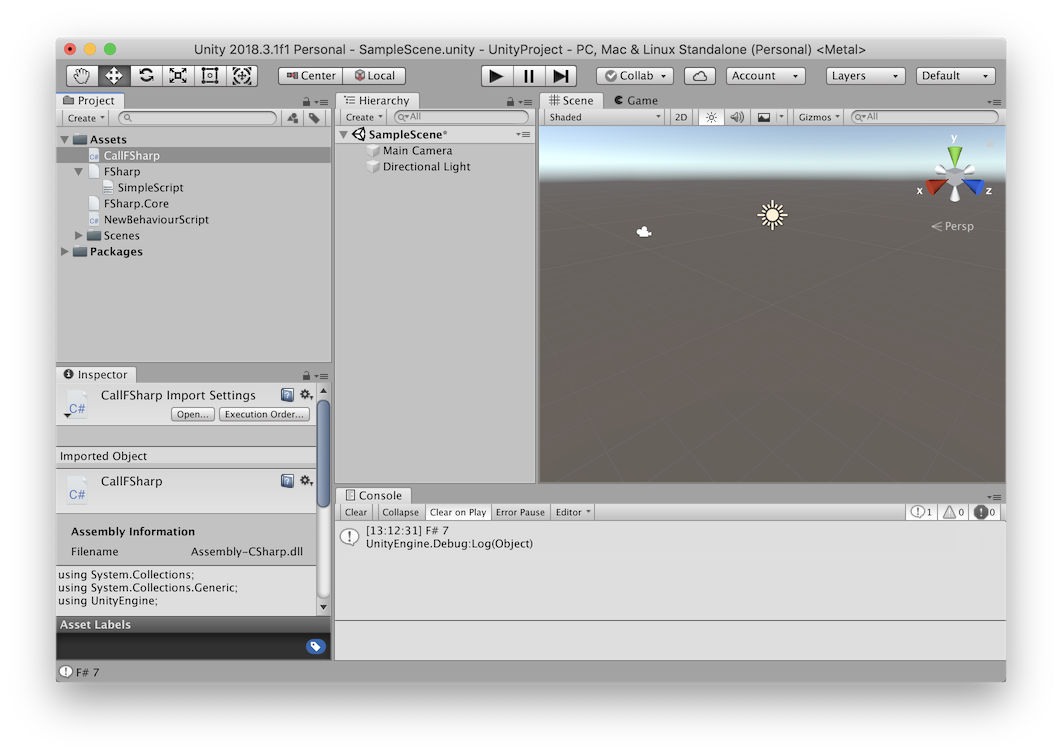
- Double-click
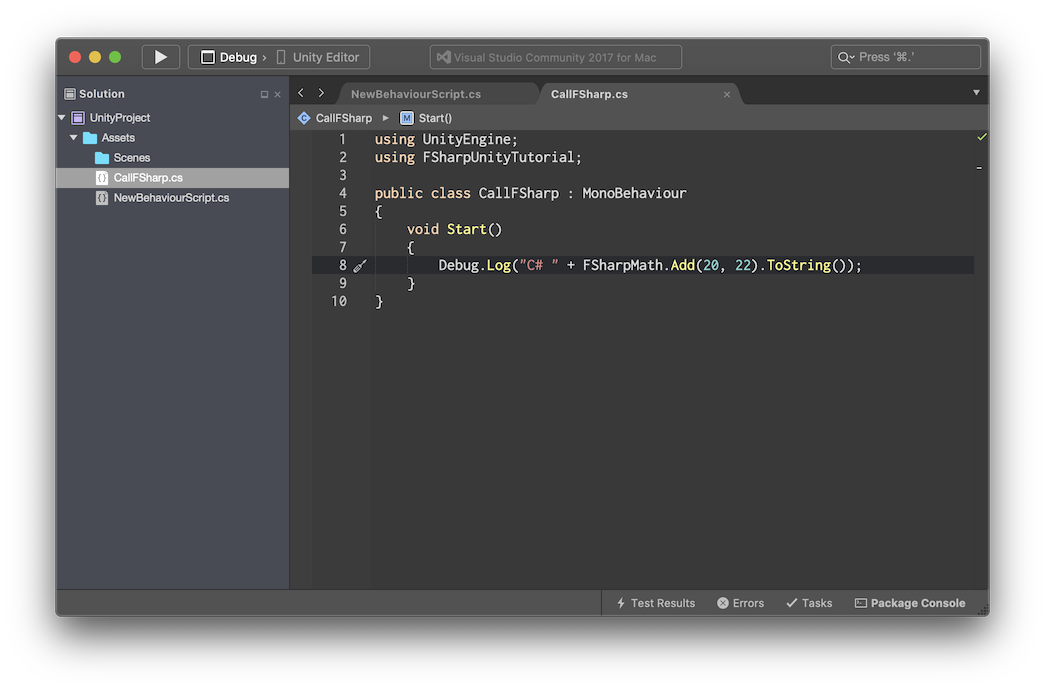
CallFSharpto open it in Visual Studio. Replace the code with this and save the file:
using UnityEngine;
using FSharpUnityTutorial;

public class CallFSharp : MonoBehaviour
{
    void Start()
    {
        Debug.Log("C# " + FSharpMath.Add(20, 22).ToString());
    }
}
- Open the Unity editor window and wait for the spinner to indicate that C# and F# have been built
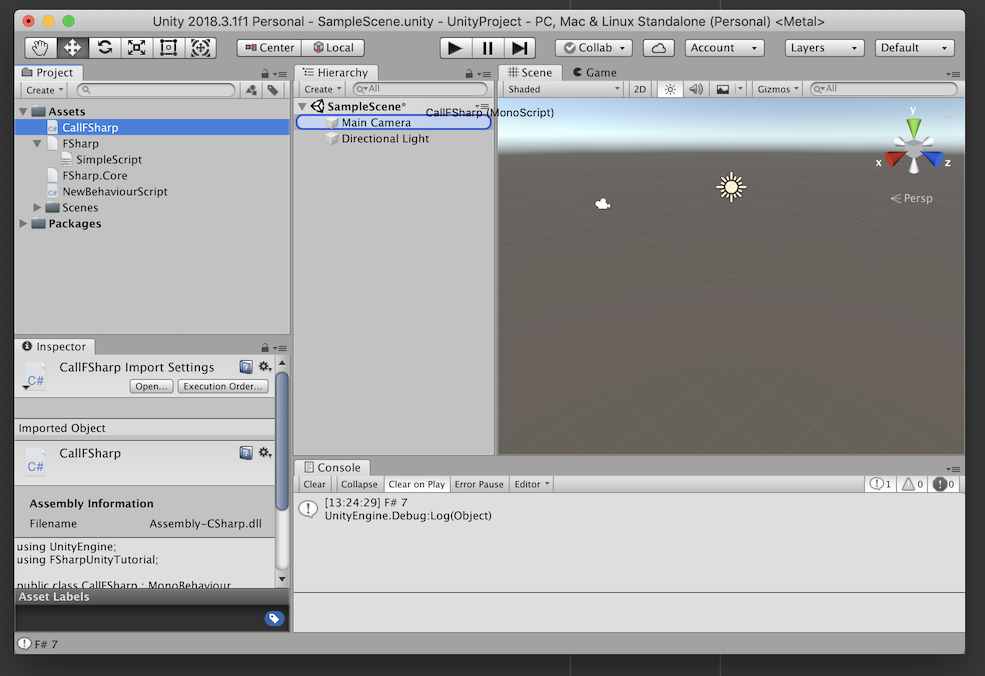
- In the
Projectpane, dragCallFSharpontoMain Camerain theHierarchypane. PressCmd+Sto save the Unity project.
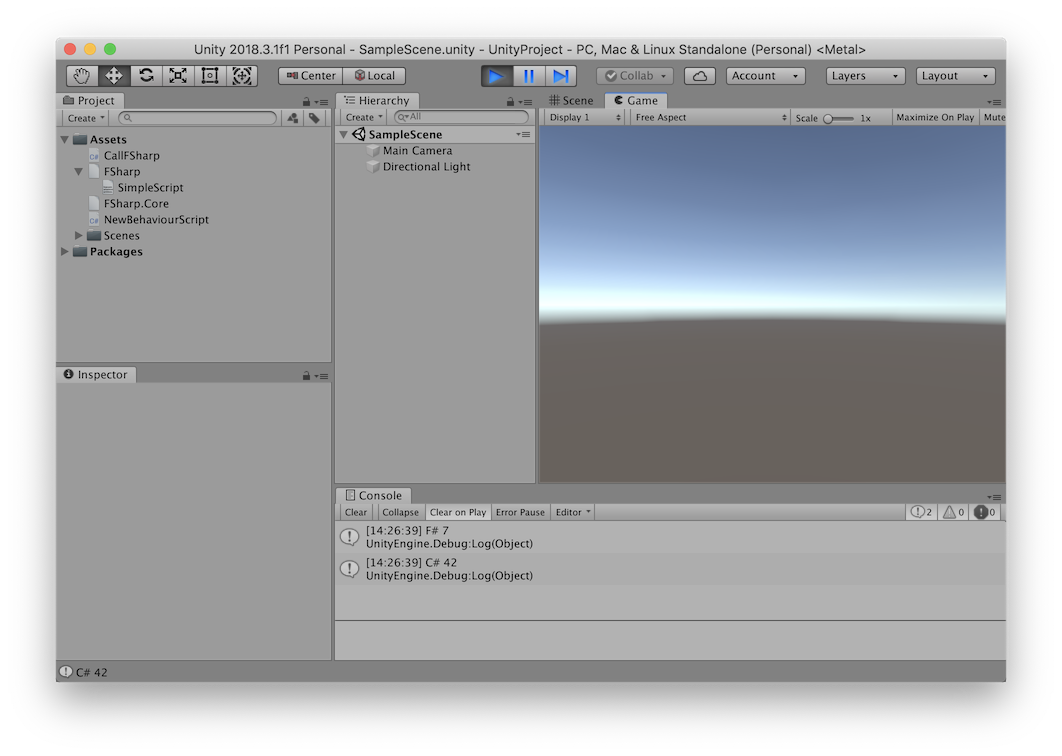
- Press the
Playbutton and observe theConsolepane. It should sayC# 42andF# 7. This confirms that C# can call F# successfully.
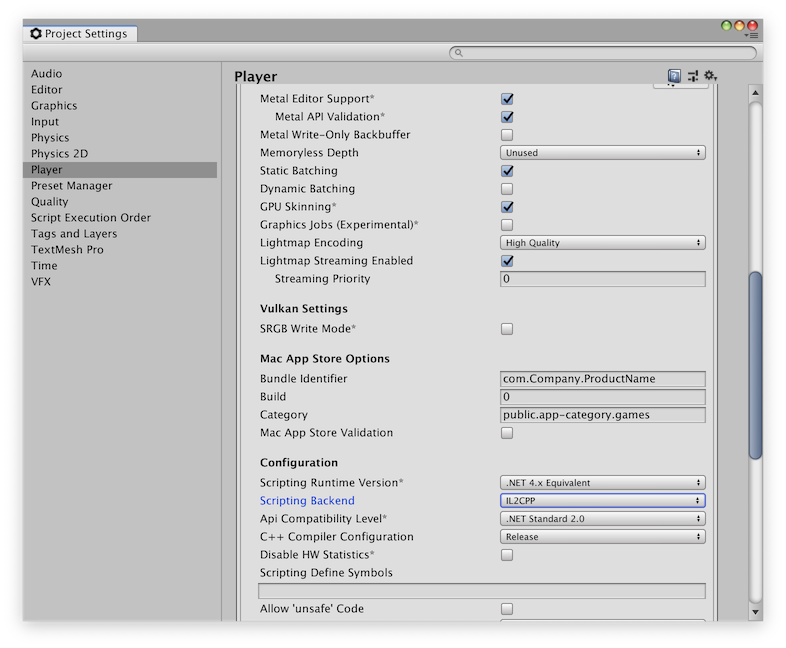
- From the macOS top bar, click
EditthenProject Settings.... ClickPlayeron the left side.

- Click the drop-down for
Scripting Backendand chooseIL2CPP. Close the player settings window.
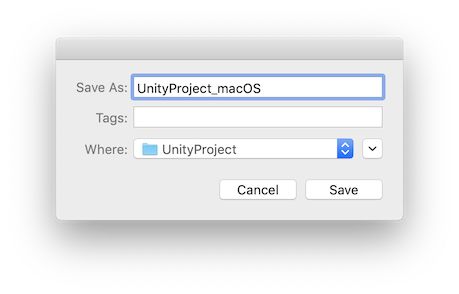
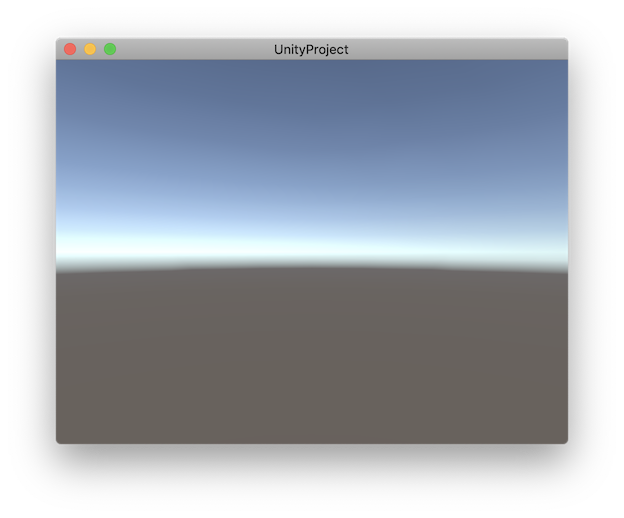
- From the macOS top bar, click
FilethenBuild And Run. EnterUnityProject_macOSand clickSave. Wait for the build to finish and run.
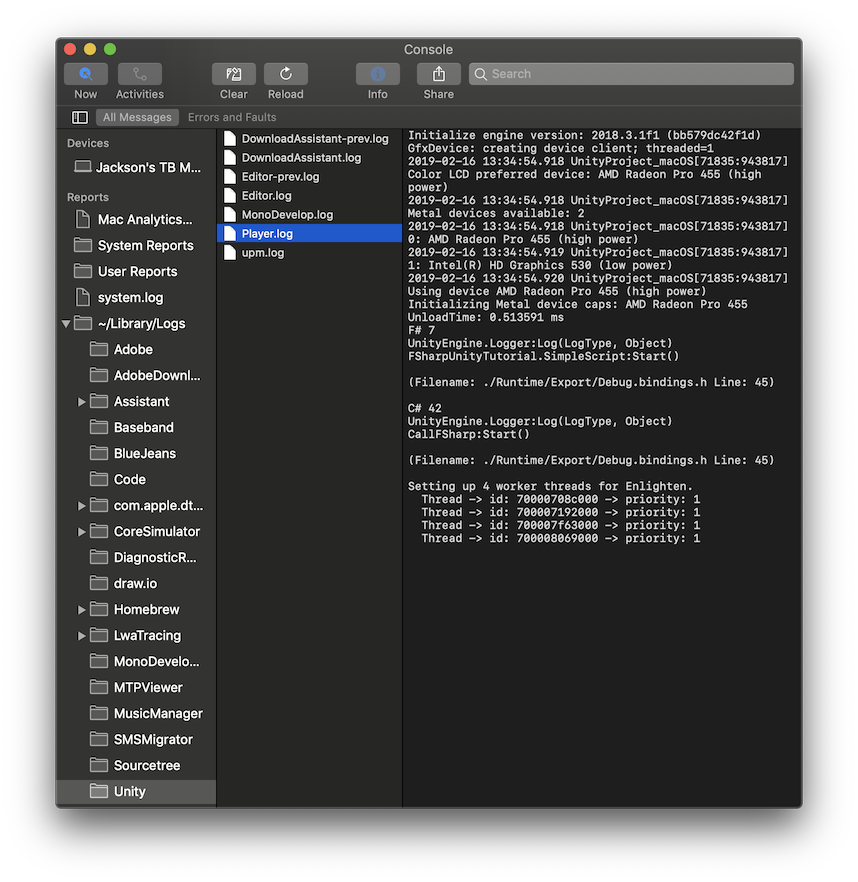
- Close the running game window and open the Console app from
/Applications/Utilities/Console. Click~/Library/Logson the left side thenPlayer.logon the right side. It should sayC# 42andF# 7. This confirms that non-editor builds and IL2CPP are working successfully.
From here on out you can simply edit and build the F# source in Visual Studio and click Play in the Unity editor to see the changes. Enjoy F#!
#1 by MostHated on March 17th, 2019 ·
Hey there,
Thanks for the detailed writeup (this and the many others!). You will have to excuse me as I am just not really familiar with F# other than knowing that those who use it absolutely swear by it. What might the benefits be of using F# in Unity vs C#? Are there any advantages or is it more simply personal preference? Would F# end up working within Unitys Job system and other newly added systems?
I appreciate your time,
Thanks,
-MH
#2 by jackson on March 20th, 2019 ·
Hey MH,
F# is designed for functional programming, so it’d be a lot more natural if you wanted to use that programming style. You could also use this to integrate some F# code into your Unity project from a non-Unity project. As for Unity’s job system, as long as you’re careful to conform to the same feature set as in C#, you should be able to use F# too. For example, make sure you don’t use any classes or delegates.
Best,
-Jackson
#3 by Adir on October 18th, 2019 ·
Hi!)) Where did you get the file Library.fs?
Your solution is not work…(Windows 10)
#4 by jackson on October 21st, 2019 ·
Library.fs was auto-generated. It’s OK if you don’t have it since the next step replaces it entirely.
#5 by Adir on October 18th, 2019 ·
Assembly ‘Assets/FSharp_Code.dll’ will not be loaded due to errors:
Unable to resolve reference ‘FSharp.Core’. Is the assembly missing or incompatible with the current platform?
F#-assemblies is not compatible with Unity?
#6 by jackson on October 21st, 2019 ·
It worked for me on macOS with Unity 2018.3, but it’s possible that other versions of Unity or other OSes (you mention Windows 10 above) might not work.
#7 by aammfe on June 2nd, 2020 ·
You are missing ‘FSharp.Core’ in ur project
create and other F# console project (compatible with ur previous F# library project)
build it and copy ‘FSharp.Core’ from ur build to ur unity asset/plugin
#8 by Adir on October 30th, 2019 ·
Jackson, thanx a lot!) Is it possible to create an alliance between Haskell and Unreal Engine?
#9 by jackson on October 31st, 2019 ·
The Haskell wiki describes this as black magic, but I suppose it’s possible.
#10 by Juan on October 31st, 2019 ·
Nice post. Thank you Jackson!
One question, how it behaves in iOS? Did you try it? If it can reaches the support -at the compiler level- that it has for Xamarin would be amazing (they have some limitations, but nothing heavy).
Thanks!
#11 by jackson on October 31st, 2019 ·
I’m glad you liked it!
This article only covers macOS, but the same steps may work on other platforms such as iOS. Unity supports many platforms, so I’d recommend just trying them out to see if they work.
#12 by Adir on November 8th, 2019 ·
Thank you Jackson once again! This is a great way for me.)) I will try! :)
#13 by cliguy on November 15th, 2019 ·
Thanks for this, finally F# in Unity on Linux without no forced editor! wow!
If you don’t want to ( or can’t ) use Visual Studio, you can add the references to the .fsproj file by hand like the following (replace the path with your path obviously).
#14 by Sean Scally on December 1st, 2019 ·
Thanks for this article!
I prefer VSCode to Visual Studio, but in VSCode the post-build copy command doesn’t run, even with `dotnet watch build`.
You’ll need to add this to your .fsproj file:
#15 by Jarl André Hübenthal on January 2nd, 2020 ·
I got tripped over by a missing static keyword in this article :) But otherwise an awesome article :)
should be
#16 by jackson on January 2nd, 2020 ·
Thanks for pointing out the typo. It was correct in the screenshot but not in the text. It’s fixed now.
#17 by Cláudio CAseiro on January 27th, 2020 ·
The first time I run it inside unity editor, it runs ok and prints in the console what is described in this tutorial.
If I press stop and start again, this time in the console always shows an Warning/Error: “The referenced script (FSharpUnityTutorial.SimpleScript) on this Behaviour is missing!
After that it only works again after I restart Unity. I’ve tried 2 projects with Unity versions 2019.2.19f1 and 2019.3.0f5 and the same happened.
Any help?
Thanks
#18 by Steven on February 17th, 2021 ·
I’ve ran into something similar, I think it had to do with a circular reference – here there would be one between the F# assembly and the Unity main assembly (Assembly-CSharp). I’m not sure there’s a way around the circular dependency if you want to write MonoBehaviour scripts from F# though.
#19 by Abdul Hanan on June 27th, 2020 ·
I’m still getting F# linker errors
https://forum.unity.com/threads/f-il2cpp.921116/#post-6030593
if possible please help
#20 by Abdul Hanan on June 27th, 2020 ·
namespace Domain
module GerenalTypes =
type OnlyPositive = OnlyPositive of int
module OnlyPositive =
let AddOne (OnlyPositive value) = value + 1 |> OnlyPositive
this code that is casing error